
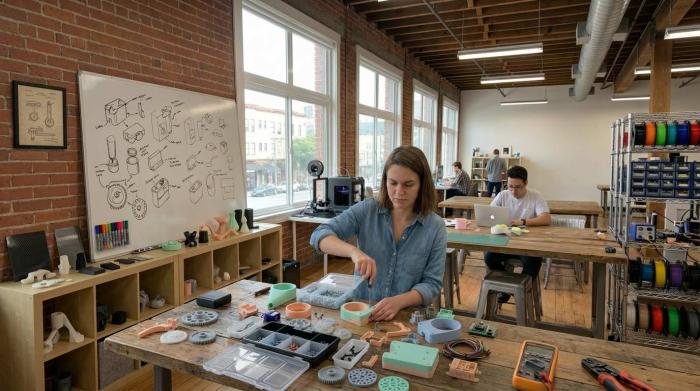
For first-time founders, product development rarely begins with clarity.
There’s an idea — sometimes compelling, sometimes half-formed — and a natural urge to make it tangible as quickly as possible. Sketches turn into conversations, and before long, the question surfaces: “How do I get a prototype made?”
It’s a reasonable question. But it’s also where many projects quietly unravel.
Prototyping isn’t a single milestone to tick off. It’s a process — one that, when approached with intent, transforms uncertainty into informed decisions. When rushed, it does the opposite.
This guide is about approaching prototyping properly: not as a task, but as a strategy.
Prototyping Isn’t the Goal — It’s the Method
A prototype is not the end result. It’s a means of learning.
Across the lifecycle of a products development, different prototypes serve different purposes. Each one exists to answer a specific question, reduce a particular risk, or move the design forward in a meaningful way.
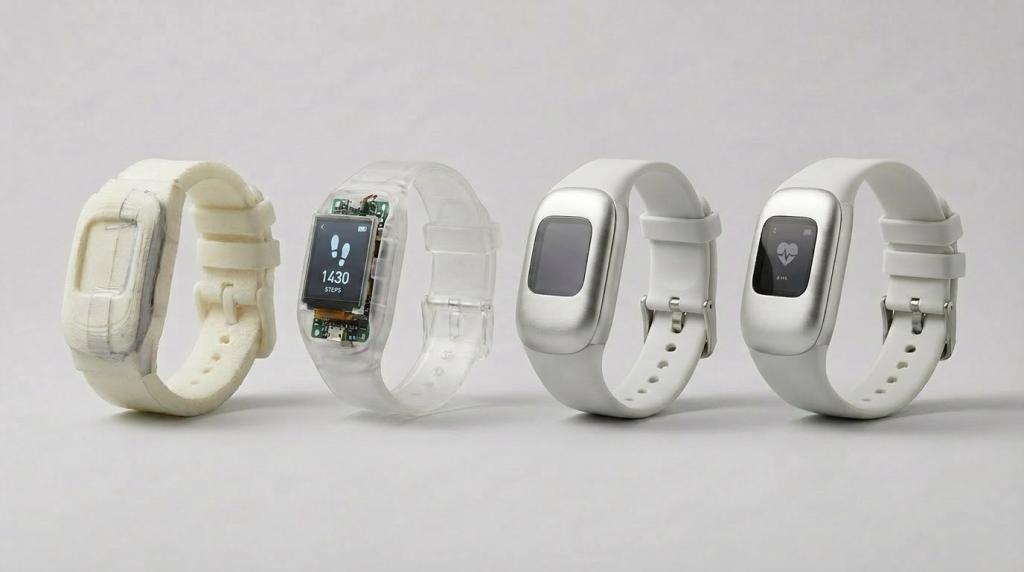
Early on, that might look like rough, low-fidelity models — foam, cardboard, quick 3D prints — used to explore form and proportion.
Later, it could be a proof of concept, built purely to test whether a mechanism or technology actually works.
Further still, you might develop presentation models to communicate intent, or integrated prototypes that both function and resemble the final product.
The common thread is simple: every prototype should teach you something.
When used well, prototyping becomes a rhythm of testing, learning, and refining — gradually shaping an idea into something viable, manufacturable, and valuable.
The Process: From Idea to Informed Decisions
1. Start by Designing the Right Thing
Before anything is built, the idea itself needs to be interrogated.
This is the stage many founders rush — and it’s often the most consequential. Because at this point, you’re not just designing a product; you’re defining the problem it solves and whether it’s worth solving at all.
That means stepping back to:
- Clarify the core problem
- Understand user needs and contexts
- Explore multiple directions, not just one
- Validate whether a market actually exists
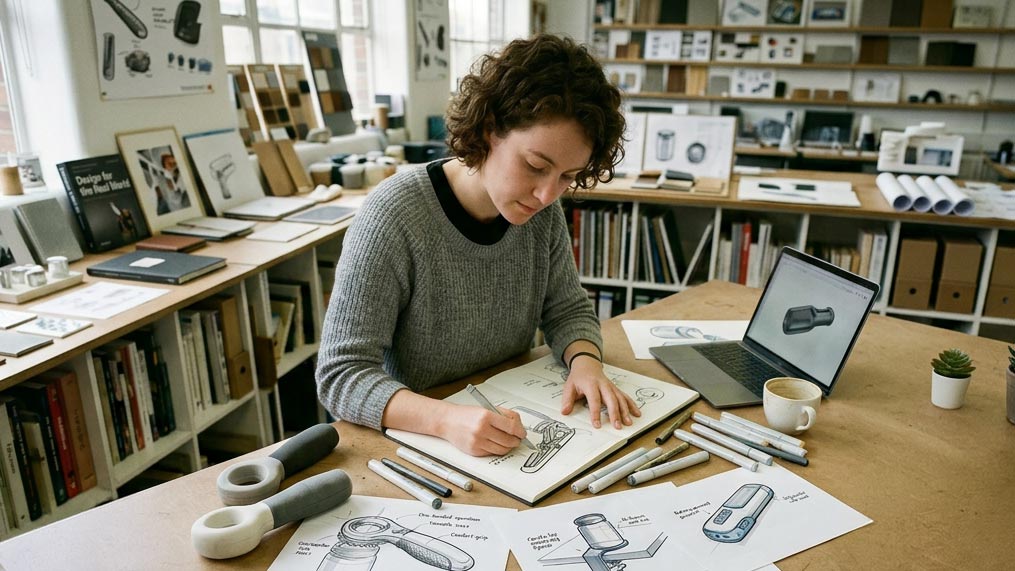
- Begin shaping form, function, and feasibility through sketches and CAD
Most ideas, in their initial state, aren’t ready to build. They need pressure, exploration, and refinement.
Done properly, this stage creates a strong foundation — one that prevents expensive missteps later on.
2. Define What You Need to Learn
Prototyping without a clear purpose is where time and money disappear.
Instead of asking “What should we build?”, ask “What do we need to find out?”
Each prototype should be tied to a small number of focused questions, such as:
- Will this mechanism function as intended?
- Is the product intuitive to use?
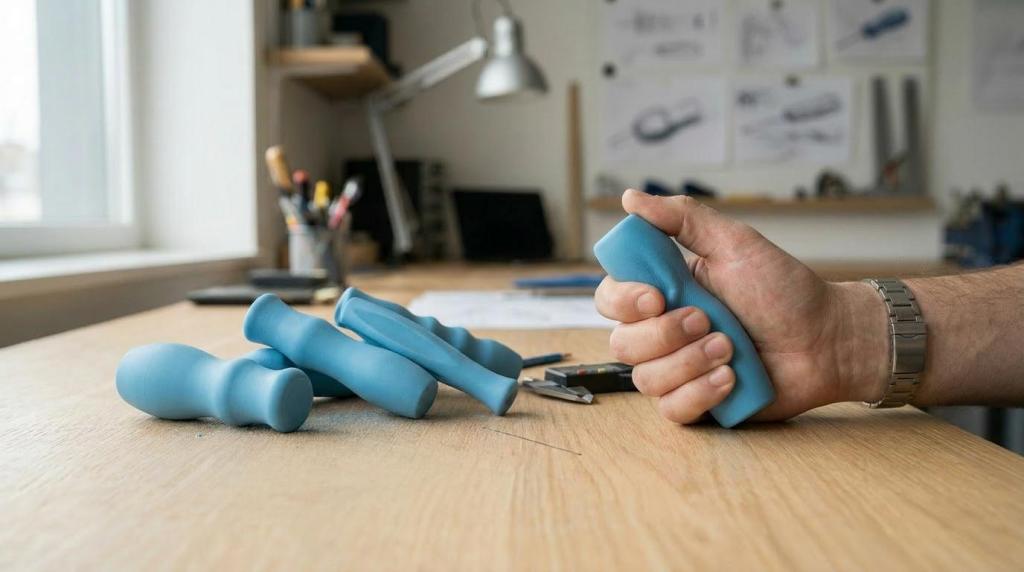
- Does it feel comfortable and natural in the hand?
- Are the proportions right in physical space?
- Can this realistically be engineered and manufactured?
Clarity here changes everything. It allows you to choose the simplest, most effective way to get the answers you need — rather than overbuilding too soon.
3. Match the Prototype to the Question
Once the questions are clear, the type of prototype becomes obvious.
- Exploring ideas? Use quick, low-fidelity models
- Testing function? Build a proof of concept
- Refining appearance? Develop a presentation model
- Demonstrating value to investors? Consider a high-fidelity, integrated prototype
Trying to combine all of these into one early build often leads to unnecessary complexity — and cost.
A common trap is aiming straight for something that looks “finished”. But appearance only matters once function, usability, and feasibility are already proven.
4. Choose the Right Tools and Processes
How you build a prototype is just as important as what you build.
Different methods offer different trade-offs:
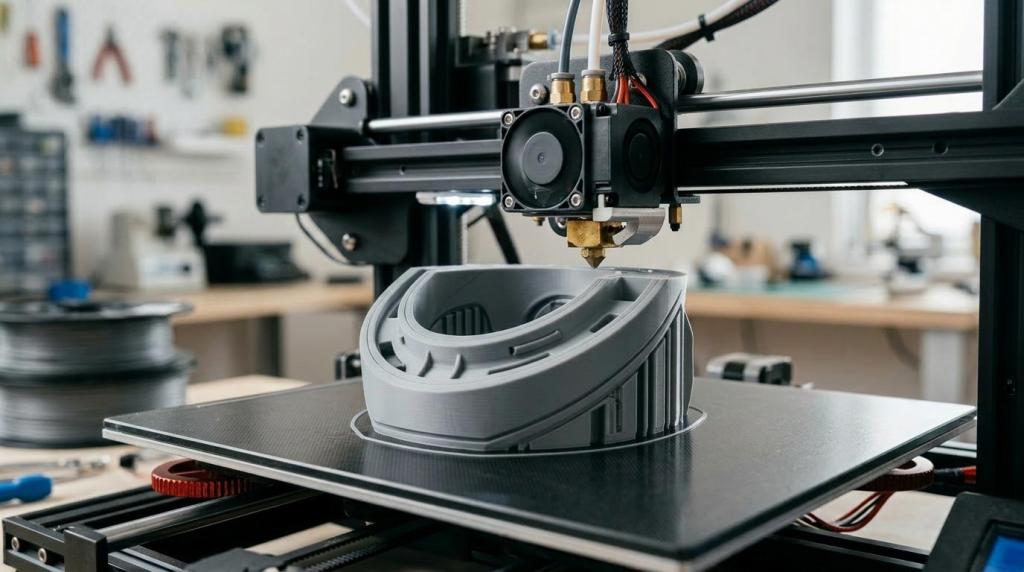
- 3D printing for speed and flexibility
- CNC machining for precision
- Casting processes to replicate production parts
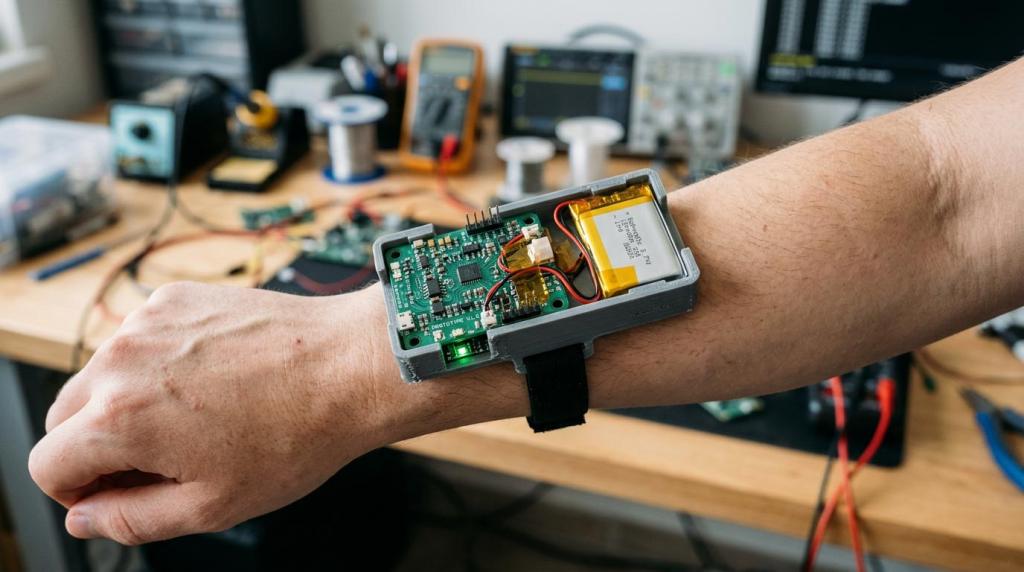
- Soft goods prototyping for textiles and wearables
- Electronics development for functional systems
The right choice depends entirely on what you’re trying to learn. Not every prototype needs to be perfect — it just needs to be fit for purpose.
5. Build, Test, Refine — Then Repeat
No first prototype is ever right. Nor should it be.
The value lies in what it reveals: what works, what doesn’t, and what needs to change.
This is where progress happens — through iteration.
Early versions should be quick and inexpensive, because change is inevitable. As confidence grows and risks are reduced, the fidelity of your prototypes can increase accordingly.
Only when the design stabilises does it make sense to invest in more advanced, production-like builds.
Cost: It’s Not Just About What You Build
Prototyping can become expensive — but it doesn’t have to.
The biggest misconception is that progress only happens through physical builds. In reality, a significant amount of development can (and should) happen before anything is made.
Digital tools play a crucial role here:
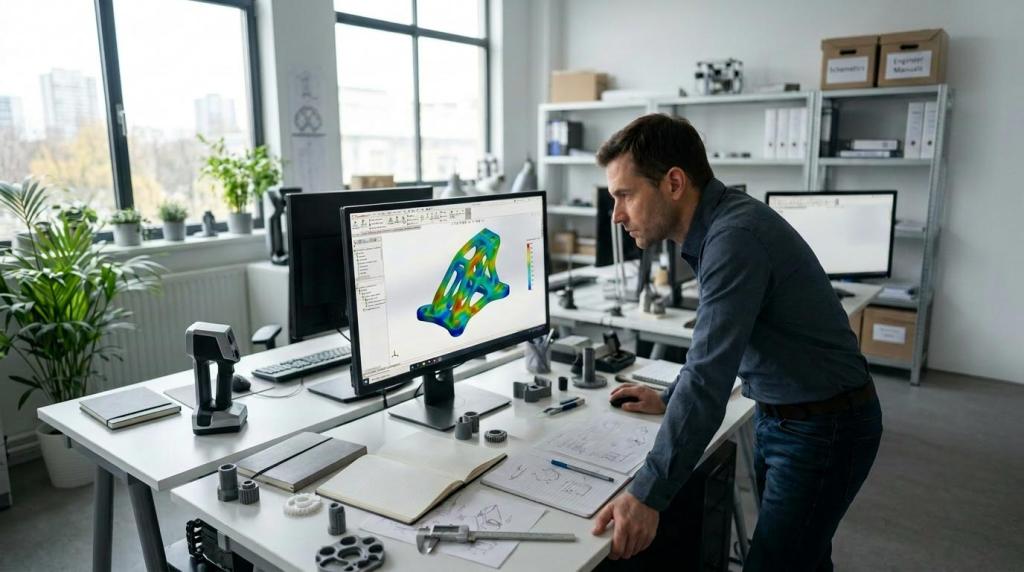
- CAD modelling to explore and refine designs
- Rapid iteration without material cost
- Simulation (such as FEA) to test performance virtually
From there, low-cost physical models help validate key aspects like form and usability.
Only once the design direction is clear does it make sense to invest in more complex and costly prototypes.
The principle is simple: increase investment as uncertainty decreases.
Time: What to Expect
Timelines vary depending on complexity.
- Simple prototypes might take a few weeks
- More advanced products can take several months
Delays are often self-inflicted — unclear briefs, constant design changes, or misaligned expectations with suppliers.
Clarity early on is one of the most effective ways to move faster overall.
Common Pitfalls (and How to Avoid Them)
Across projects, the same patterns tend to emerge:
- Treating prototyping as a one-off deliverable
- Jumping into builds before the design is ready
- Choosing the wrong type of prototype for the question
- Prioritising cost over learning
- Expecting a single prototype to solve everything
Avoiding these isn’t about perfection — it’s about awareness. Small missteps early can compound quickly if left unchecked.
Choosing the Right Support
How you approach prototyping often depends on who you work with.
- Freelancers can be effective for defined, isolated tasks
- Prototype shops are useful if you know exactly what needs building
- Product design consultancies offer end-to-end guidance, from idea through to manufacturing
If your goal is simply to create something physical, the first two options can work.
But if you’re aiming to build a commercially viable product, the process needs more than execution — it needs direction.
A strong design partner helps you:
- Refine the brief and challenge assumptions
- Plan a structured prototyping strategy
- Balance cost, speed, and quality
- Ensure alignment with manufacturing from the outset
In many cases, this leads to lower overall cost — not higher — by avoiding wasted effort and false starts.
When Are You Ready to Prototype?
You don’t need all the answers.
But you do need:
- A clear idea
- A genuine problem worth solving
- Some level of early validation
From there, prototyping becomes a way to move forward with confidence — not a search for perfection.
A Smarter Way to Prototype
The most effective teams don’t treat prototyping as a task to complete. They treat it as a framework for decision-making.
That means:
- Investing time upfront to define the right problem
- Being precise about what needs to be tested
- Using the simplest tools that can answer those questions
- Iterating deliberately, increasing fidelity only when it’s justified
Approached this way, prototyping stops being a cost centre — and becomes a strategic advantage.
Because ultimately, it’s not about the prototypes themselves.
It’s about the clarity they create — and the better decisions that follow.
Moving Forward
Turning an idea into a real, manufacturable product is rarely linear. But with the right structure, it becomes far more predictable.
If you’re at the early stages and want to understand what to build, what to test, and how to move forward without unnecessary risk, start with clarity — not construction.
That’s where meaningful progress begins.
We provide businesses with product design consultancy, industrial design, prototype design & related services.